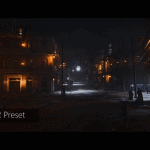
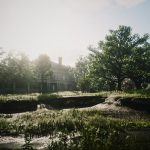
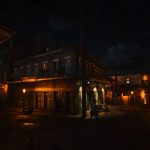

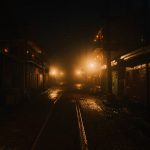
Realistic HDR Reshade Preset
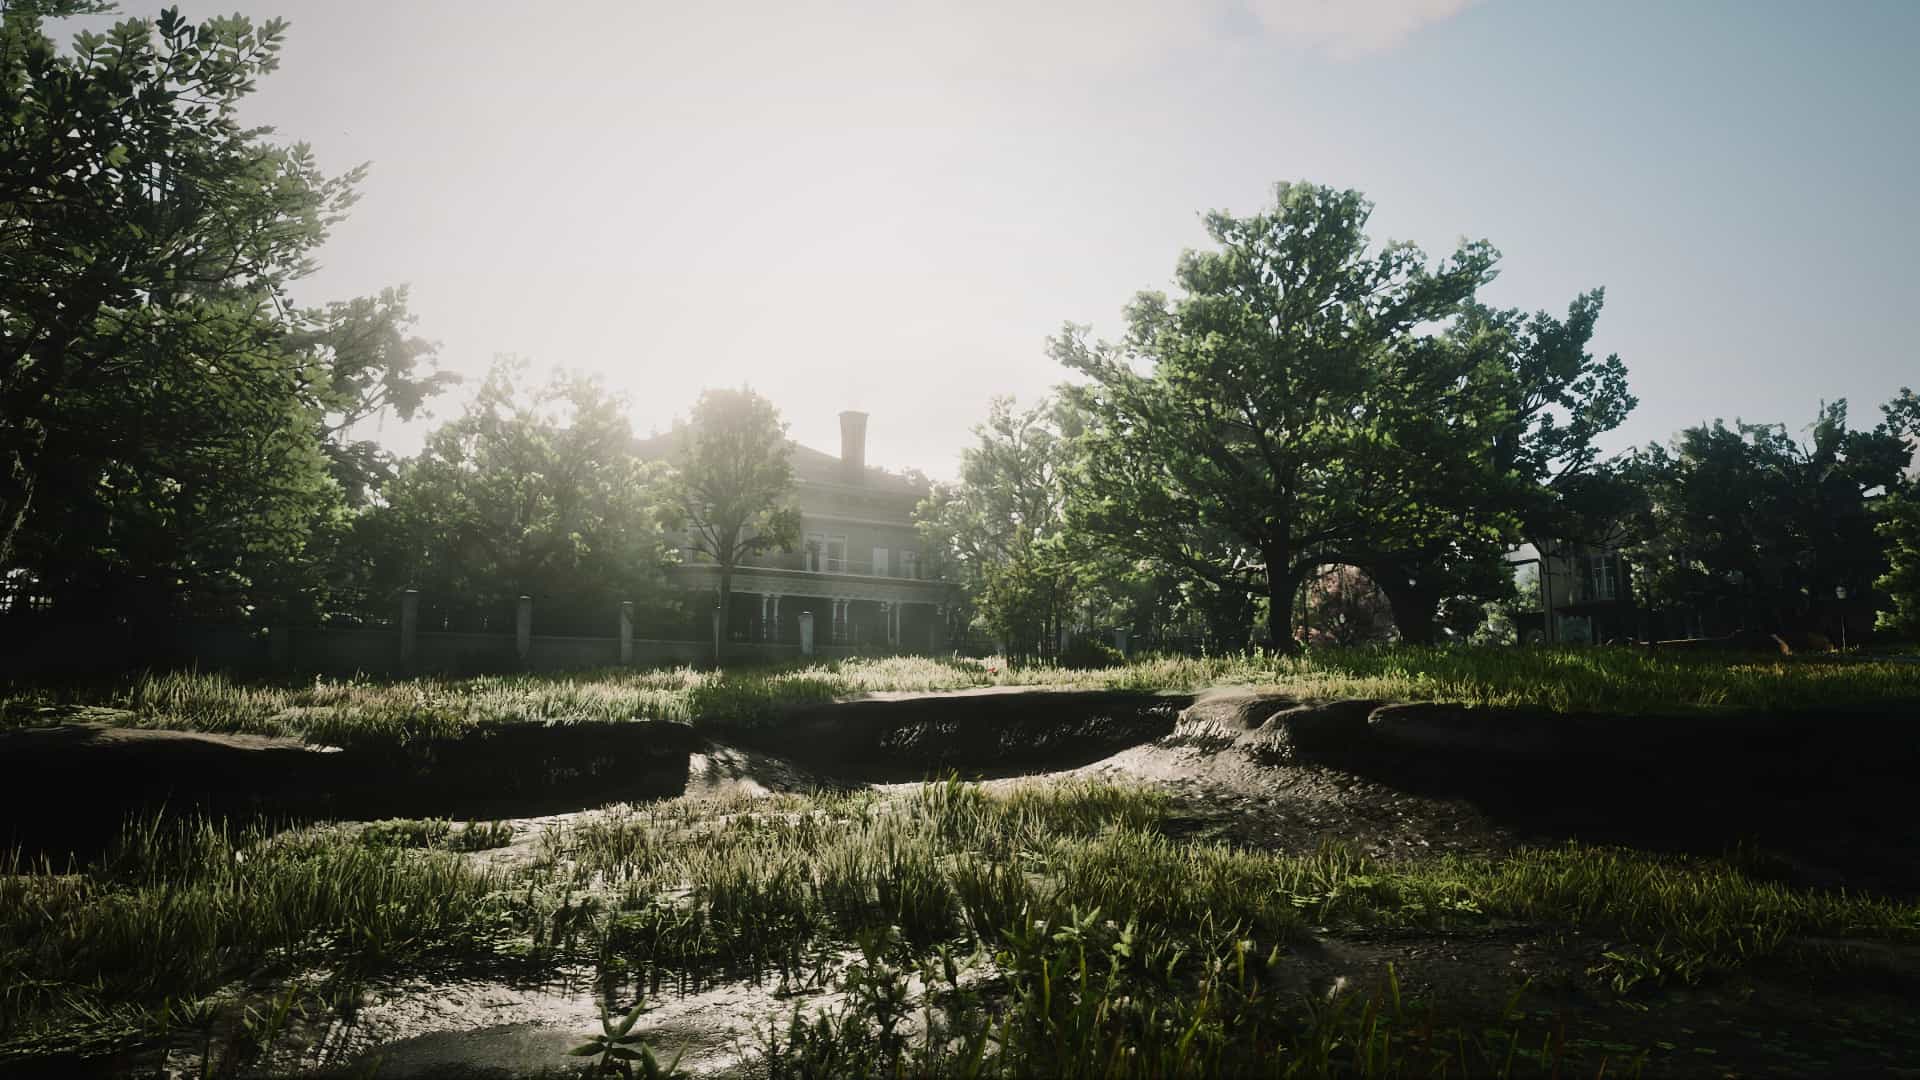
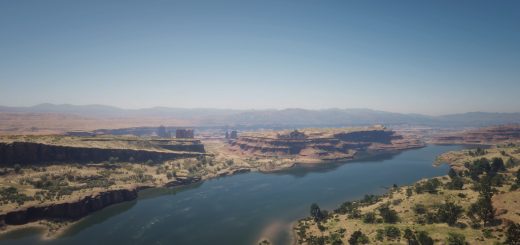
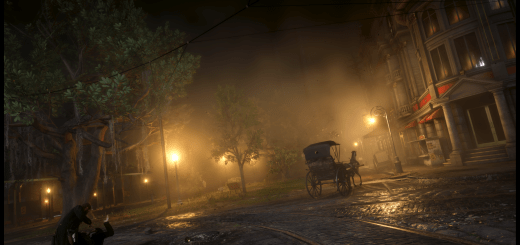
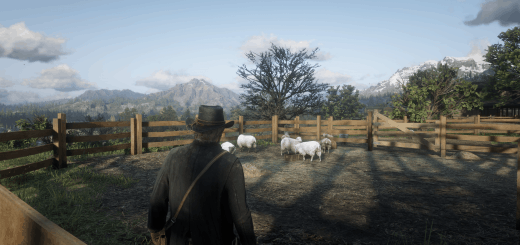
I always thought that the PC version of the game looked really washed out so I made a preset that adds a little bit more color and some darker shadows/places and sharpens everything up a bit.
Installation:
1. Download and install Reshade by just following the installation progress here -> reshade.me <- (Make sure to select all the effects during installation).
2. Download the Realistic HDR Reshade Preset.
3. Open the zip file and drag the preset over to the Steam\steamapps\common\Red Dead Redemption 2 folder. (You know it's the right place when there is also the reshade-shaders folder in there).
4. Start Red Dead Redemption 2 and in the top left corner it should tell you which button to press to open the Reshade menu (it's usually the Home key but you might have to change that in the settings menu). You will be presented with a tutorial that you can skip if you wish to do so and after you are done with that click the drop down menu near the top (or just switch through the different Presets with the arrows) and select the RDR2RealisticHDRPreset.

