RDR2 – Advanced Game Settings
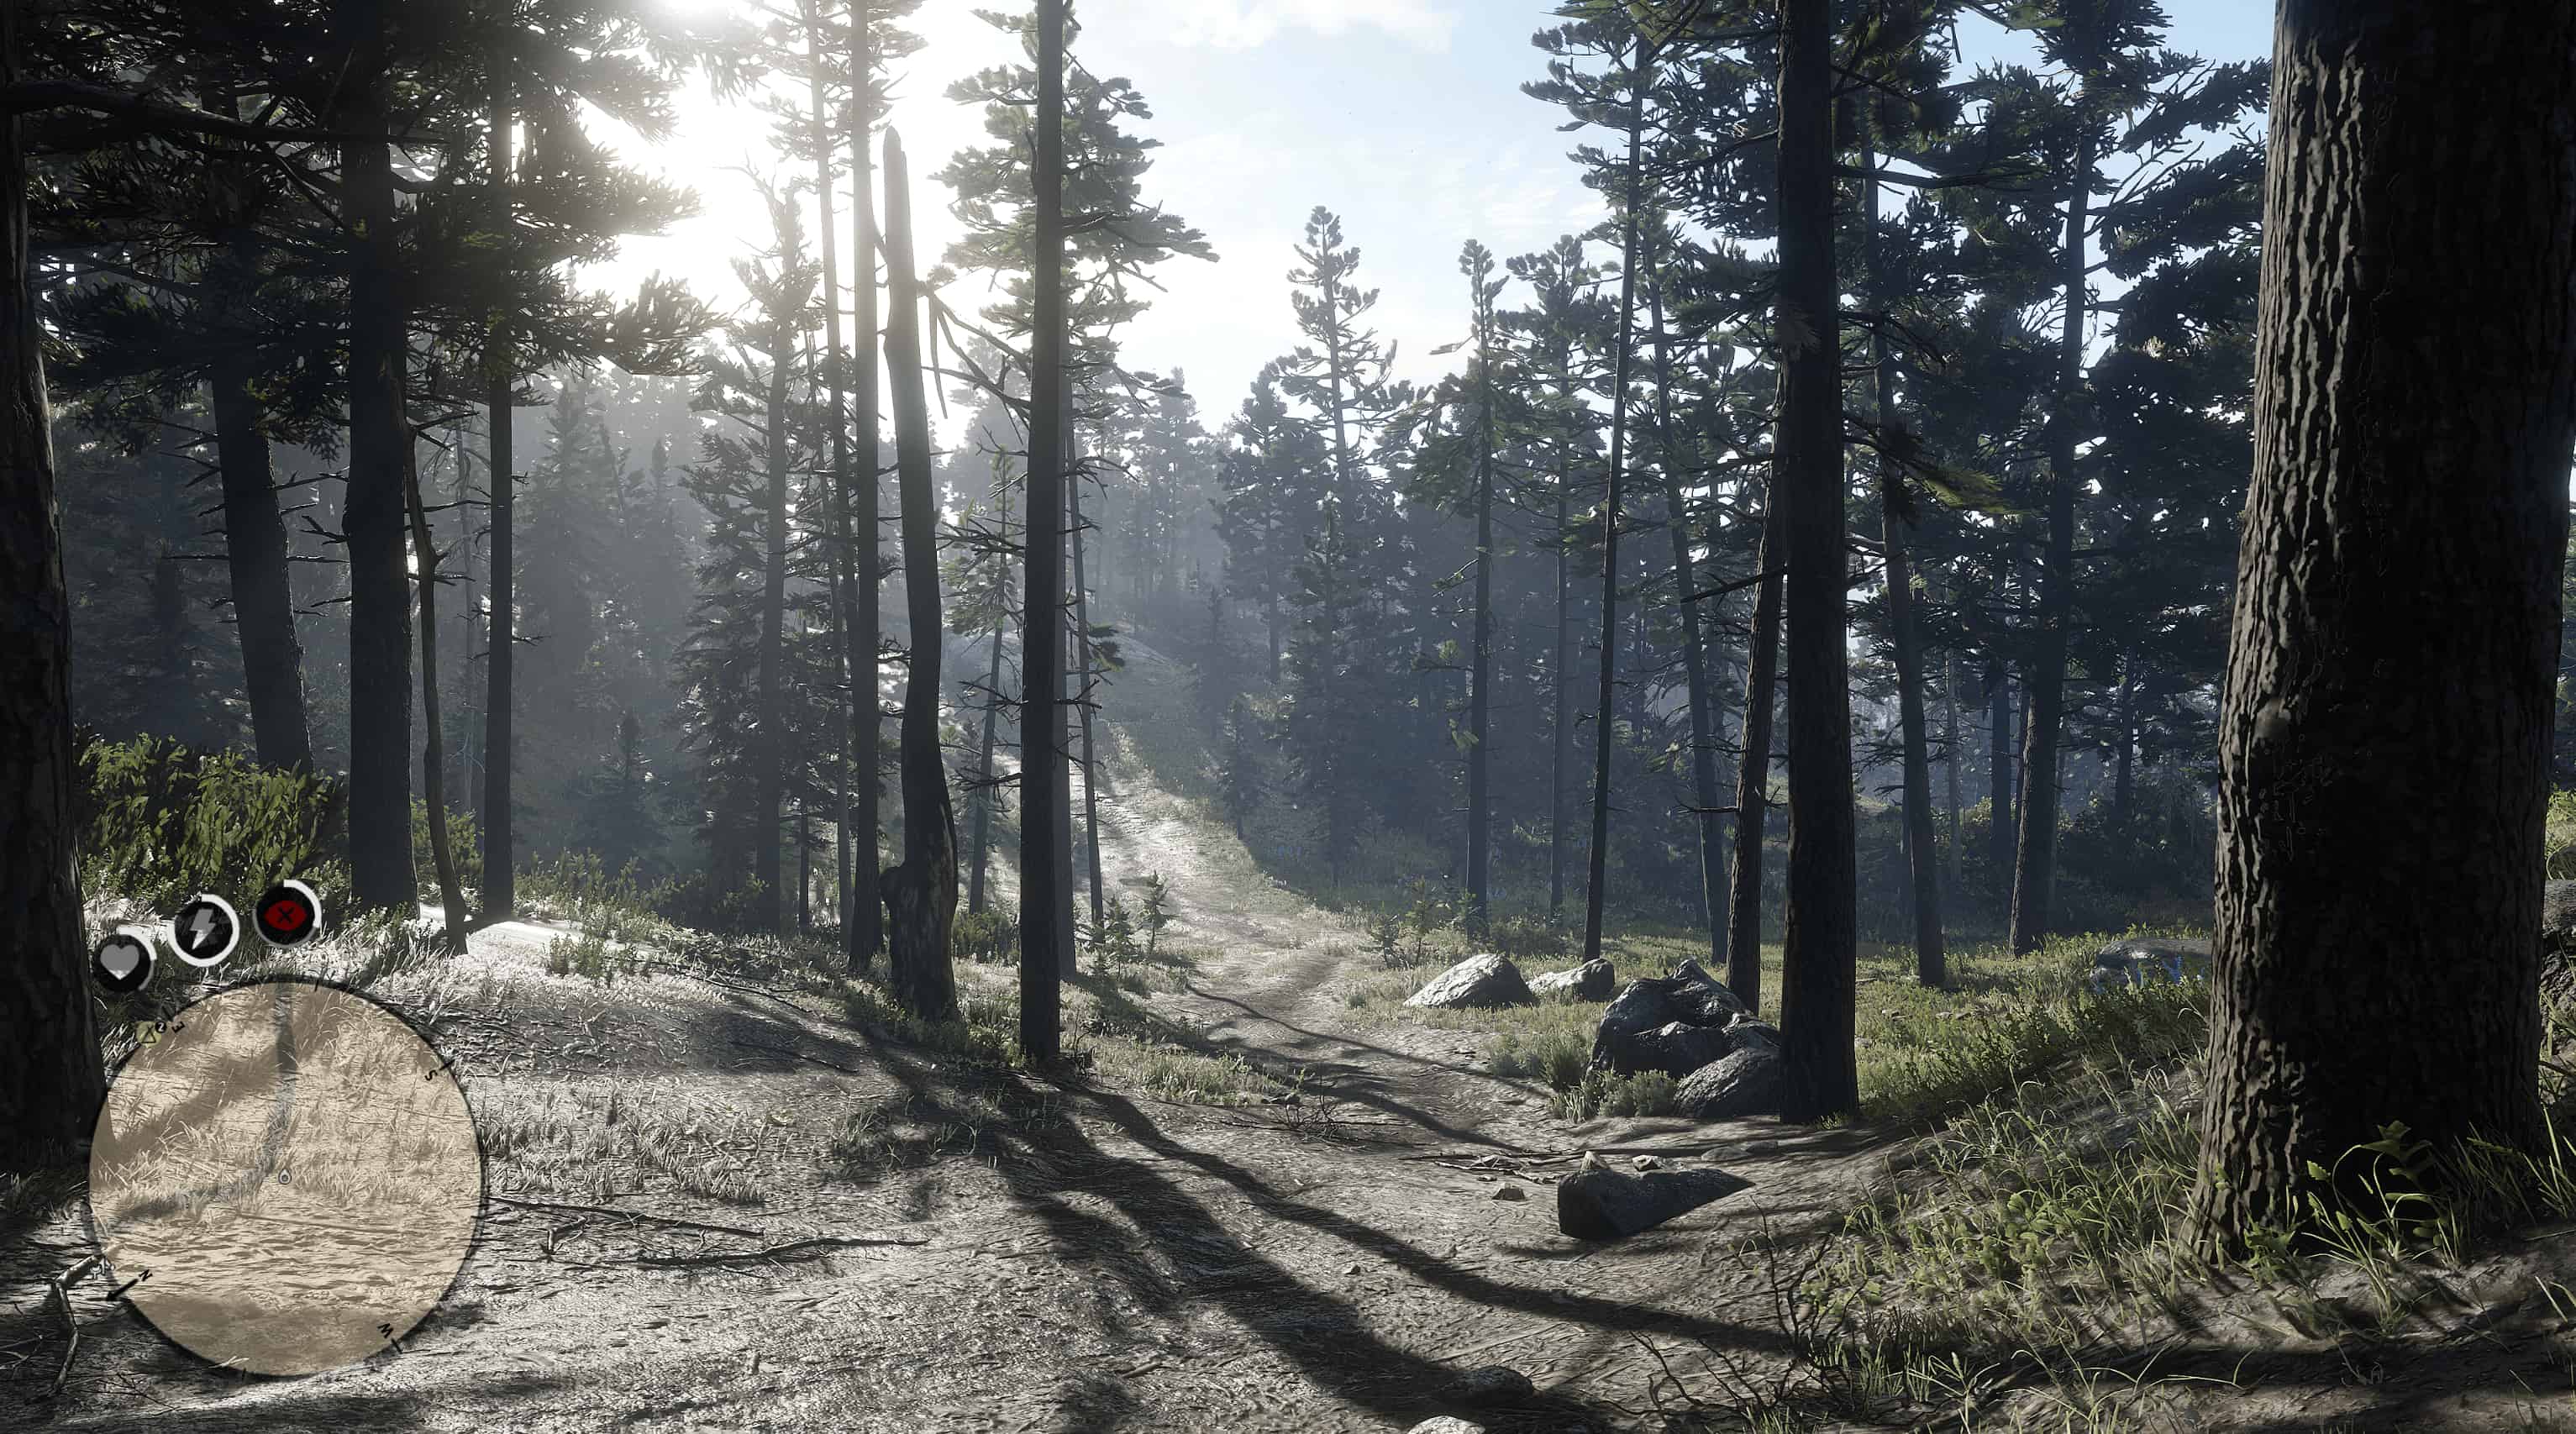
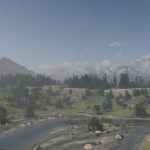
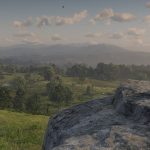
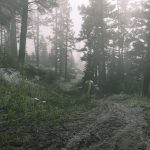
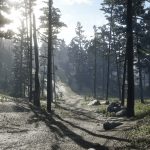
This mod adds various locked in game graphics effects not available in the vanilla version.
First of all, I would like to thank the user Swartz420 for his Enhanced Visual Settings mod and for reporting various graphic presets used by Rockstar Games and not present in the vanilla version of the game, I state that various “Special” effects have obviously been reported by Swartz actually with his mod, in addition other graphic changes have been implemented by me and are all in the game settings menu, these effects are normally not present in the vanilla game and are still blocked in the game files without modification. This enhanced version of the aforementioned Swartz420 mod implements all his and my changes in a single package by expanding the settings proposed by the Rockstar title supporting the latest RDR2 build.
Keep in mind that this mod carries experimental presets that are not meant for normal use, download this mod if you are aware of what you are doing, neither I nor the other contributors take any responsibility for any damage or game errors!
This mod is released for benchmark and pc enthusiast purposes and its long term support is not guaranteed, remember this is experimental and not all “Special” preset can work as intended, appreciate the work and enjoy the wonderful world of Red Dead Redemption.
Installation requirements:
https://www.rdr2mod.com/lennys-mod-loader-rdr-0-4-7790/
http://www.dev-c.com/rdr2/scripthookrdr2
*For the installation procedure follow the guide of the creators in their respective sites.
Mod installation:
Open the zip file and copy the folder “RDR2_AGS” into your “lml” folder.
Start the game and enjoy.
*READ!*
For Nvidia users, remember to disable Shader cache for RDR2 into your Nvidia control panel.
This mod includes, except the Special presets and addition by Swartz, other graphic settings all implemented in the graphic settings menu, in the next list you can see the additions:
- <id>damageModelsDisabled</id>
- <id>terrainShadowQuality</id>
- <id>directionalShadowsAlpha</id>
- <id>ssroSampleCount</id>
- <id>waterReflectionSSR</id>
- <id>probeRelightEveryFrame</id>
- <id>waterLightingQuality</id>
- <id>ssdoSampleCount</id>
- <id>ssdoResolution</id>
- <id>ssaoType</id> (follow the guide to change this setting).
- <id>deepsurfaceQuality</id>
- <id>vehicleLodBias</id>
- <id>pedLodBias</id>
- <id>asyncComputeEnabled</id>
Made by Swartz420:
– Increased various LOD distances
– Increased precision of volumetric fog
– Changed resolution of volumetric fog from 512 to 1024
– Increased shadow distance by 1.5x
– Increased soft shadow distance to 120
– Increased distance before various effects fade out
– Increased screenspace shadow sample counts
To be added:
- <id>ambientMaskVolumesHighPrecision</id>
- <id>snowGlints</id>
- <id>directionalScreenSpaceShadowQuality</id>
- <id>worldHeightShadowQuality</id>
- <id>maxTexUpgradesPerFrame</id>
- <id>waterReflectionResY</id>
- <id>waterReflectionResX</id>
- <id>motionBlurLimit</id>
- <id>ssdoUseDualRadii</id>
NOTE**
I wasn’t able to port the SSAO type changer and “Special” texture preset into the game file due to technical problems (this version doesn’t include the vignette remover too implemented by Swartz due to some other polish to the code not finished yet and require more work to do), if you want to use or change that follow the guide.
First of all I advise you to set all the graphic settings as you prefer, as by setting the Special textures you will not be able to make changes to the graphic menu as there will be a memory limit flag (if you do this you will have to exit everytime from the game to apply the changes to the textures, obviously just for the Special one), then continue as follows:
Go to your documents folder > Rockstar Games > Red Dead Redemption 2 > Settings > System.xml
Open “System.xml” with notepad++
Go on search tab and write ssaoType and press enter, where there is “value=0” you can change that number from 0 to 2, this allows you to use three different (0, 1 or 2) SSAO technique (in my opinion the number “2” is the best), by default the game uses the value 0 even at ultra settings.
– Special Texture Step –
Remember that high texture quality requires more VRAM available, keep in mind that this configuration was tested with an RTX 3080 with 10gb memory availability, I cannot confirm stability below that value, so you may encounter errors GFX_Out_of_Memory leading to an inevitable crash of the game.
In the same file (System.xml), go again to the search tab and type <textureQuality>
Where it says <textureQuality>kSettingLevel_Ultra</textureQuality> replace it with <textureQuality>kSettingLevel_Special</textureQuality>
Save your file and exit.
Launch your game and check into graphics settings if texture quality is set to Special, after that you can start to play.

