NextVision
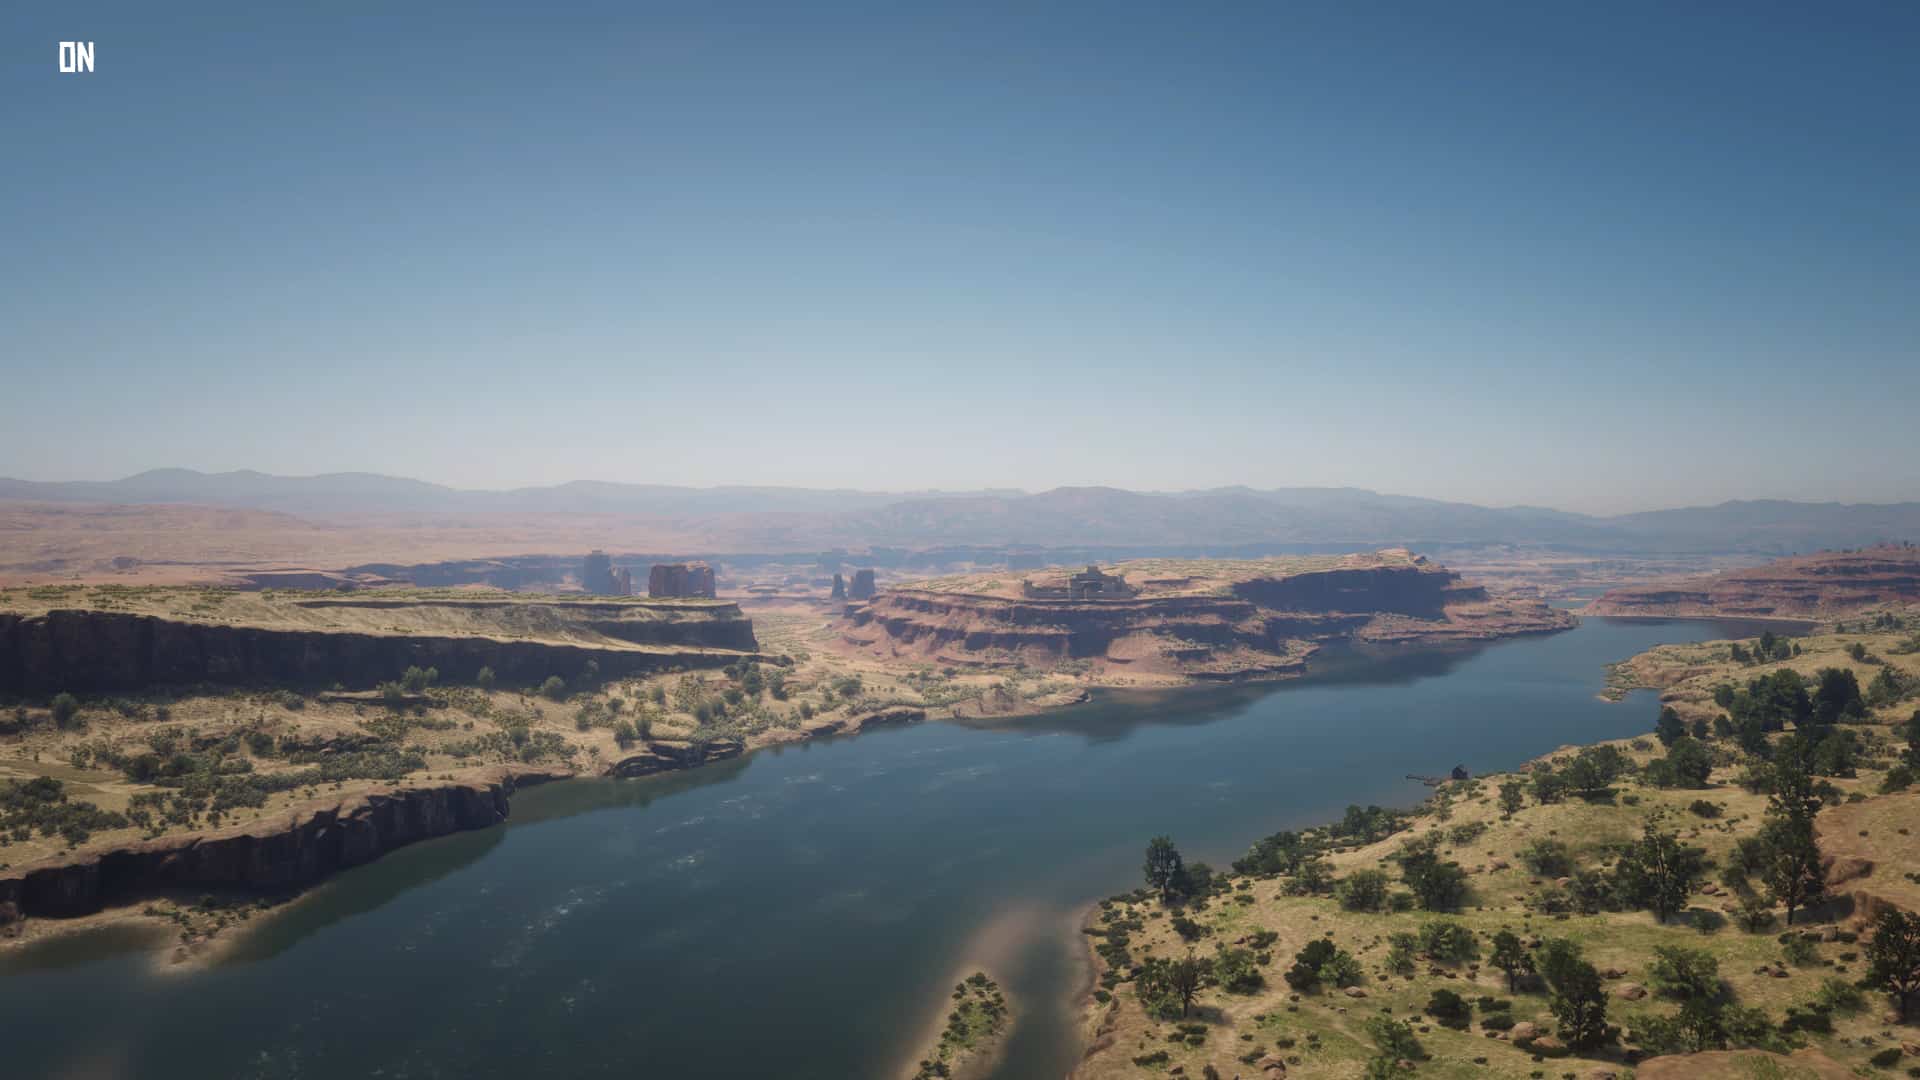
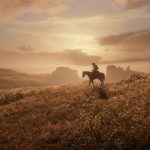
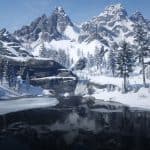
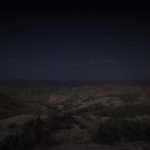
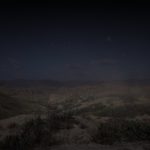
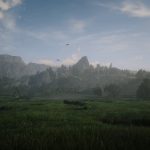
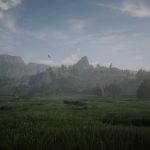
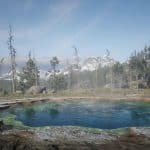
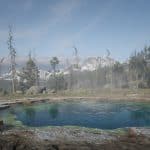
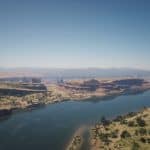
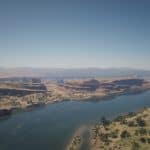
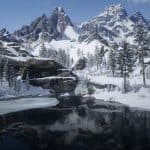
“NextVision” is a Reshade 4.X configuration created for any game with the mission to enhance the lighting and shadows respecting the original idea of the developers keeping the original color palette that they made.
NextVision contains:
• Curves
• DPX
• Filmic Anamorph Sharpen
• Filmic Pass
• SMAA
Note:
I’ve optimized the preset as well as possible, with my PC configuration suffer drops between 2 and 7 FPS in the majority of the games in Full HD, 2K and 4K, but depends on the power of each GPU/CPU that could have some more or less FPS drops.
This preset has been created with a Benq VA/HDR monitor, keep in mind that depending on the monitor you’ve and the personal settings that you’ve put the preset may be better or worse.
Instalation
1. Go to reshade.me. Download the installer3. Open Reshade Setup.exe, install by selecting the Red Dead Redemption 2 executable from the folder where the game is installed and select the API “Direct 3D 10/11/12”.4. When Reshade ask you if you wish to download effects, select yes and of the shaders you are given to choose to download, choose only the ones I’ve put on “NextVision contains” and press OK, don’t close Reshade Setup window.
5. Unzip my preset in the folder where it is RDR2.exe.
6. Go to Reshade Setup window and press “Edit Reshade Settings”, in the next window in the option of preset press “…” button and select my preset (in effects, textures and screenshot path you don’t need to do nothing). Activate also “Performance mode” option, press OK button and close Reshade Setup window.7. Open the game and press Home to open Reshade Overlay.
8. Go to settings in Reshade Overlay and select a new key to open overlay and another key for toggle effect.
9. Close overlay and enjoy the game with NextVision.
Uninstalation
1. Open the folder where it is RDR2.exe
2. Delete “reshade-shaders” folder, “dxgi.dll”, “dxgi.ini”, “Reshade.ini” and “NextVision.ini”

