SDK DLSS swapper
If you want to use SDK DLSS file to remove oversharpening and shimmering image, this is a batch file that swaps/rename DLSS SDK and vanilla DLSS before and after launching Rockstar Launcher, so you don’t have to do it manually every time you want to play the game. Includes an optional Xpadder profile for further simplicity if you use a gamepad.
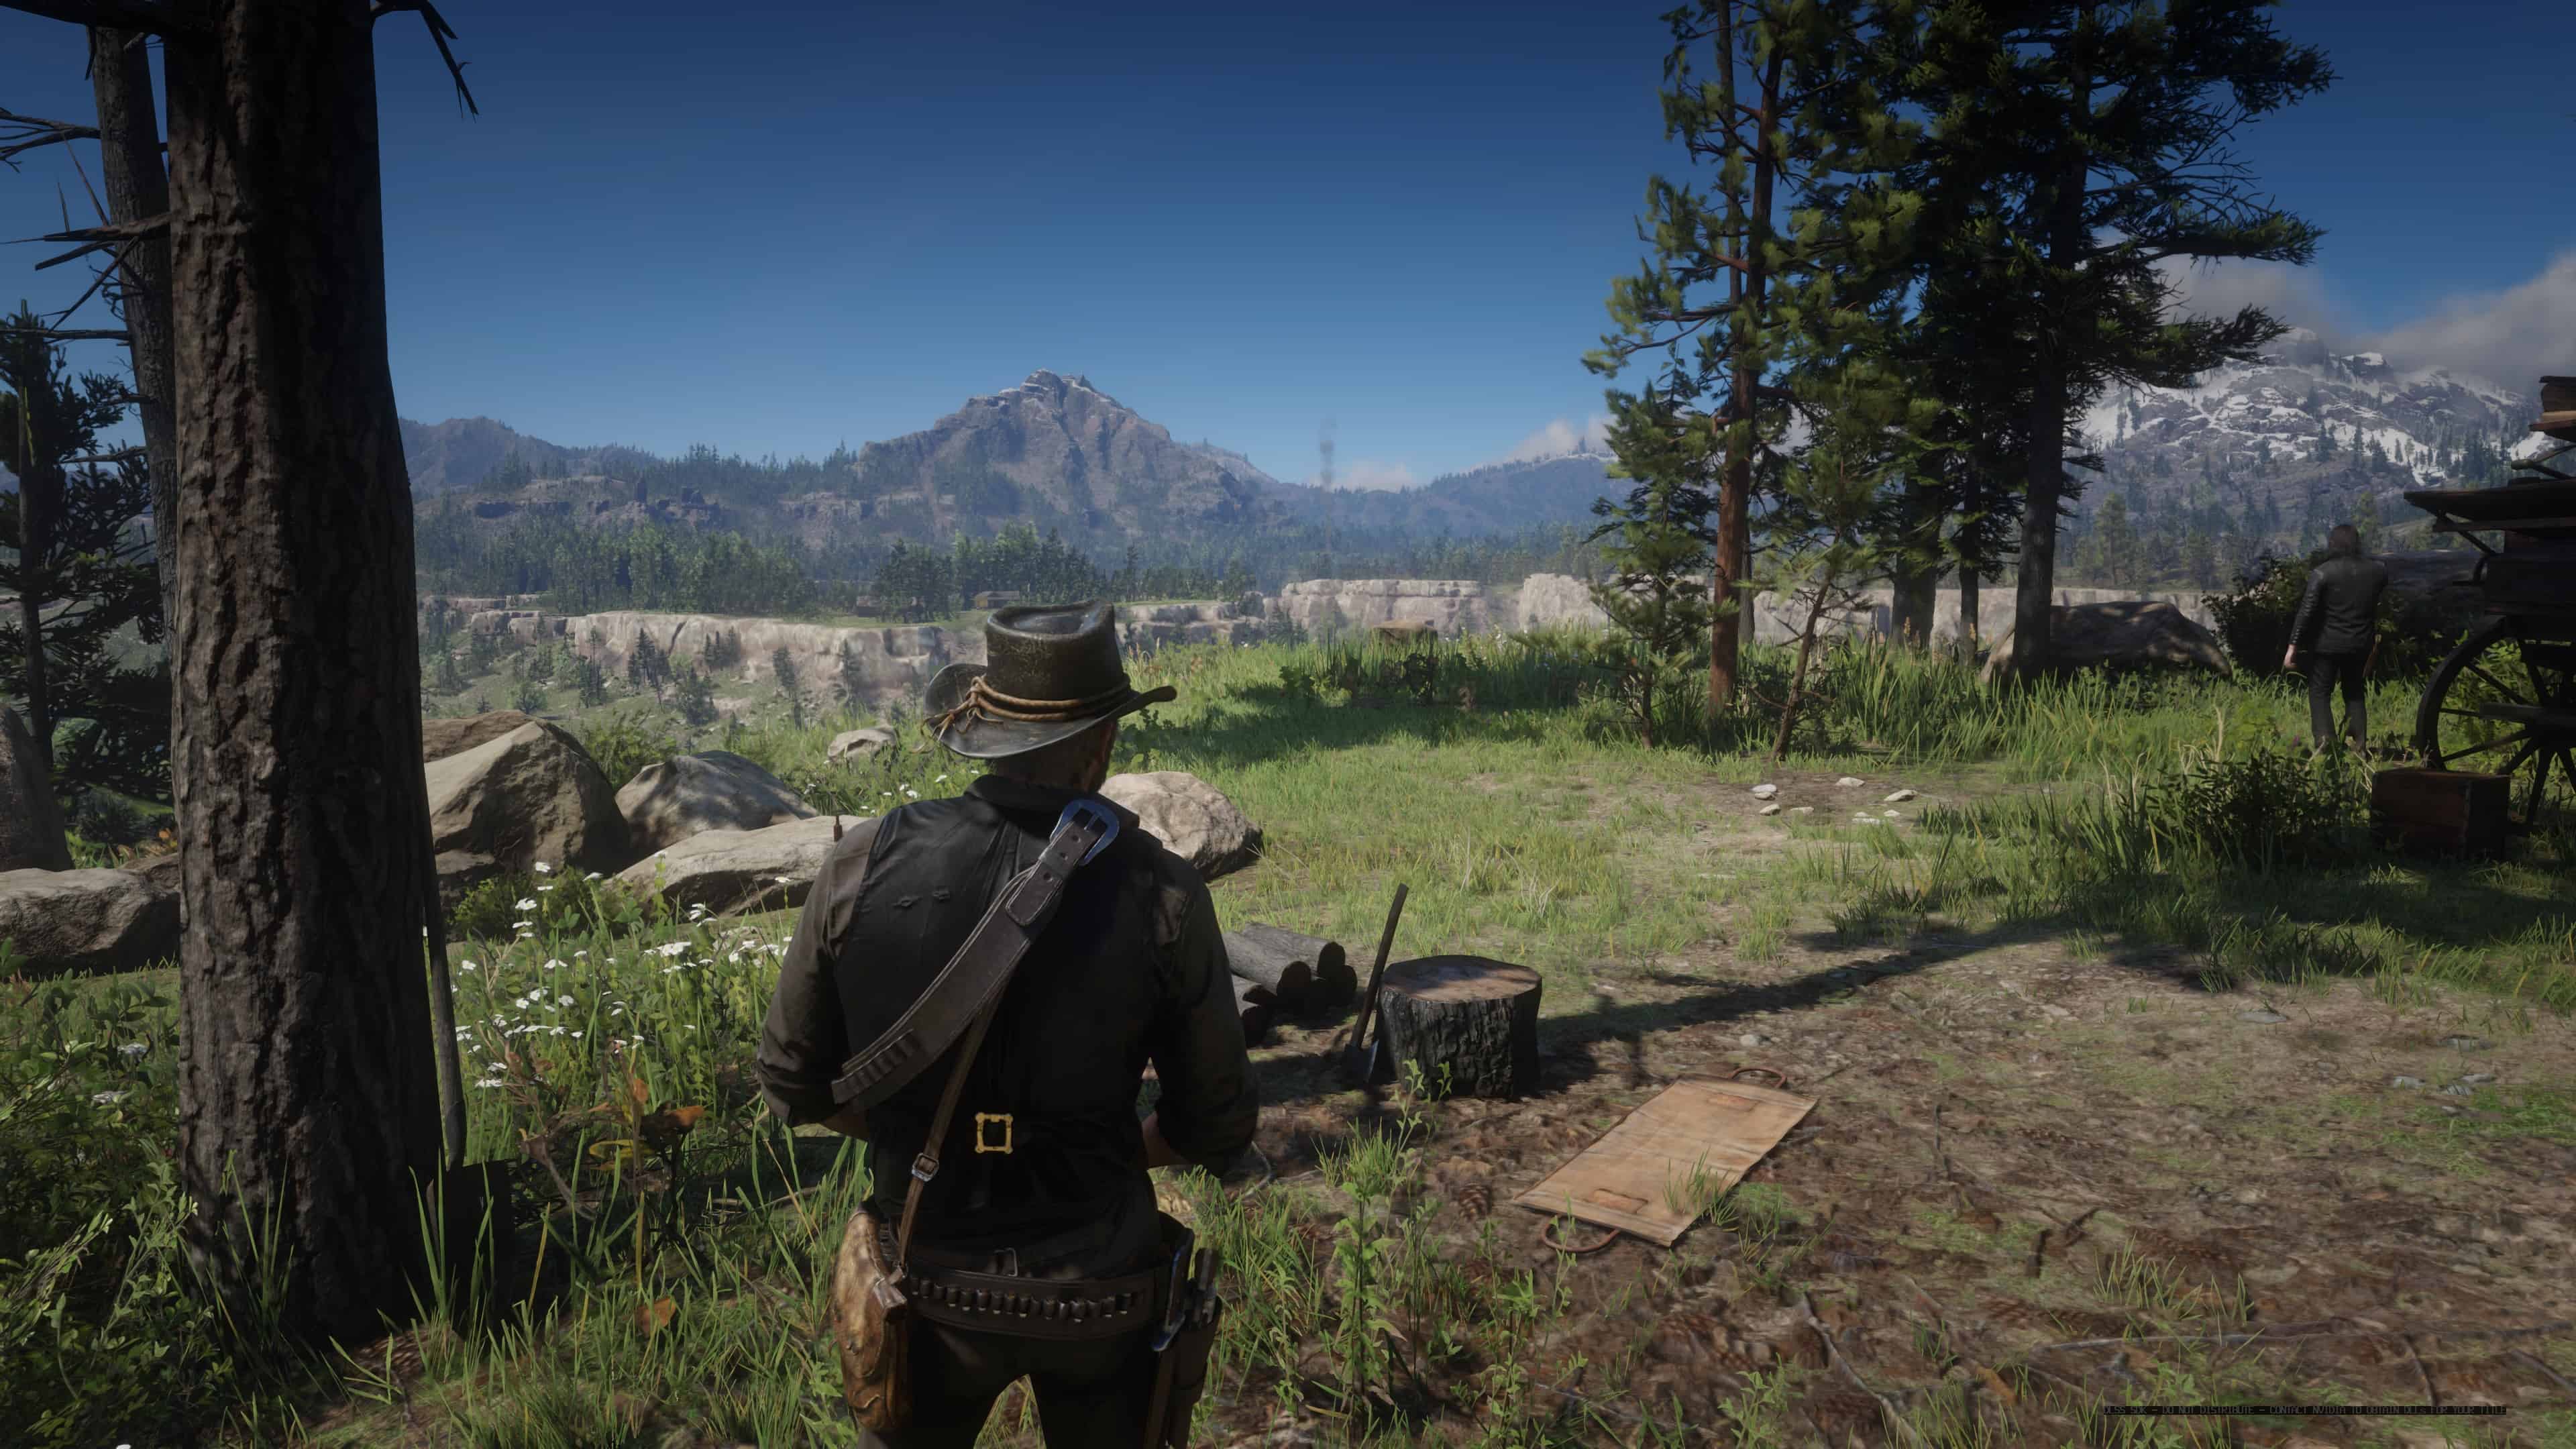
As many of you already know, Rockstar DLSS implementation is a mess, and as you also know, Rockstar are the best making games but are the worst providing technical support and fixing their issues. RDR2 has the worst DLSS implementation that I have seen, and there is little chance that Rockstar will fix it. The result is an oversharpening image, and shimmering image when you move cam. The only way to fix this right now is to use the DLSS file provided by SDK DLSS package. This dev DLSS file lets players/users to customize DLSS settings with control+alt+F7 and control+alt+o. The counterpart is that you will see a small watermark in bottom right corner. It’s up to you if you prefeer this watermark barely noticiable when you are playing, or that oversharpening and shimmering image. In adition, the SDK DLSS file performs a little better than the vanilla one. I went from 85fps to 90fps in benchmark.
The main problem if you use the nvngx_dlss.dll SDK file instead of vanilla one, is that Rockstar Launcher overwrites it with the vanilla one everytime you launch the Launcher, and you must copy/rename DLSS files before and after everytime you launch the Rockstar Launcher. So I made this little batch file, which swapps/rename them (vanilla and SDK files) for you before and after launching the Rockstar Launcher. It also launch RDR2. The batch file is syncronized with the time the Rockstar Launcher start and check game files. My Rockstar Launcher takes 25 seconds to star/check game files, so the swapping operation is delayed 32 seconds. You may need to adjust this 32 seconds delay acording to the time your Rockstar Launcher takes to start.
Whit this tool, once you have installed it, you don’t need to do anything. Just one click to launch the game and control+alt+F7 (or D-pad Up if you use xpadder) once in-game.
INSTALLATION:
1- Take the two files insider DLSS swapper folder and place them inside your Red Dead Redemption 2 folder.
2- Download the SDK DLSS package from Nvidia, in case you still doesn’t have it, take the file inside dlss_sdk\lib\Windows_x86_64\dev folder, and place it inside your RDR2 folder, overwriting the vanilla one (backup it before if you want). At bottom you will find a link to SDK DLSS package.
3- Edit nvngx swapper.bat file and change the fourth line (cd “C:\Red Dead Redemption 2”) with your RDR2 folder location (if you use the Xpadder version, also change the sixth line with your RDR2 folder location).
4- Optional: Depending the time your Rockstar Launcher takes to start, you may need to change the sixth line (TIMEOUT /T 32) and reduce or increase those 32 seconds (even I don’t think you will need to do this).
Usage: Launch the game from the batch file, or create a shortcut to it. If everything worked as It should, you will see the small watermark in the bottom right corner. Then, when you are in game, press control+alt+F7 to disable oversharpening and shimmering.
Uninstall: delete the three files (nvngx_dlss, nvngx_dlssxx, and the batch file) and let Rockstar Launcher to download the vanilla DLSS file.
WARNING: I don’t use mods in RDR2 and I’m not sure how they work, but as long as this little tool change one game file (the DLSS file), you should only use this SDK DLSS file for singleplayer, not to play online.
OPTIONAL: I also included an Xpadder profile and batch file version to use with Xpadder for further simplicity if you use a gamepad. To use it, just use the batch file included in “Xpadder optional” folder. Copy the RDR2 toggle DLSS.xpadderprofile to your Xpadder folder, and add a shortcut to your Xpadder.exe inside RDR2 folder (the shortcut must be called ‘Xpadder’). The batch file will do the swapping operation, launch RDR2 and launch Xpadder. Then, when you are in game, you just need to press and hold D-pad up for 0.7 seconds, and it will disable/enable the oversharpenning and shimmering image.


