
Lenny’s Mod Loader RDR 0.6.8470.31280
The general idea of Lenny’s Mod Loader is to provide an easy way to modify the game. In its current state for RDR 2 it will allow you to replace any file in the game, whether they are streaming files such as models or data files, font files etc. It also includes full UI support akin to the GTA V version.
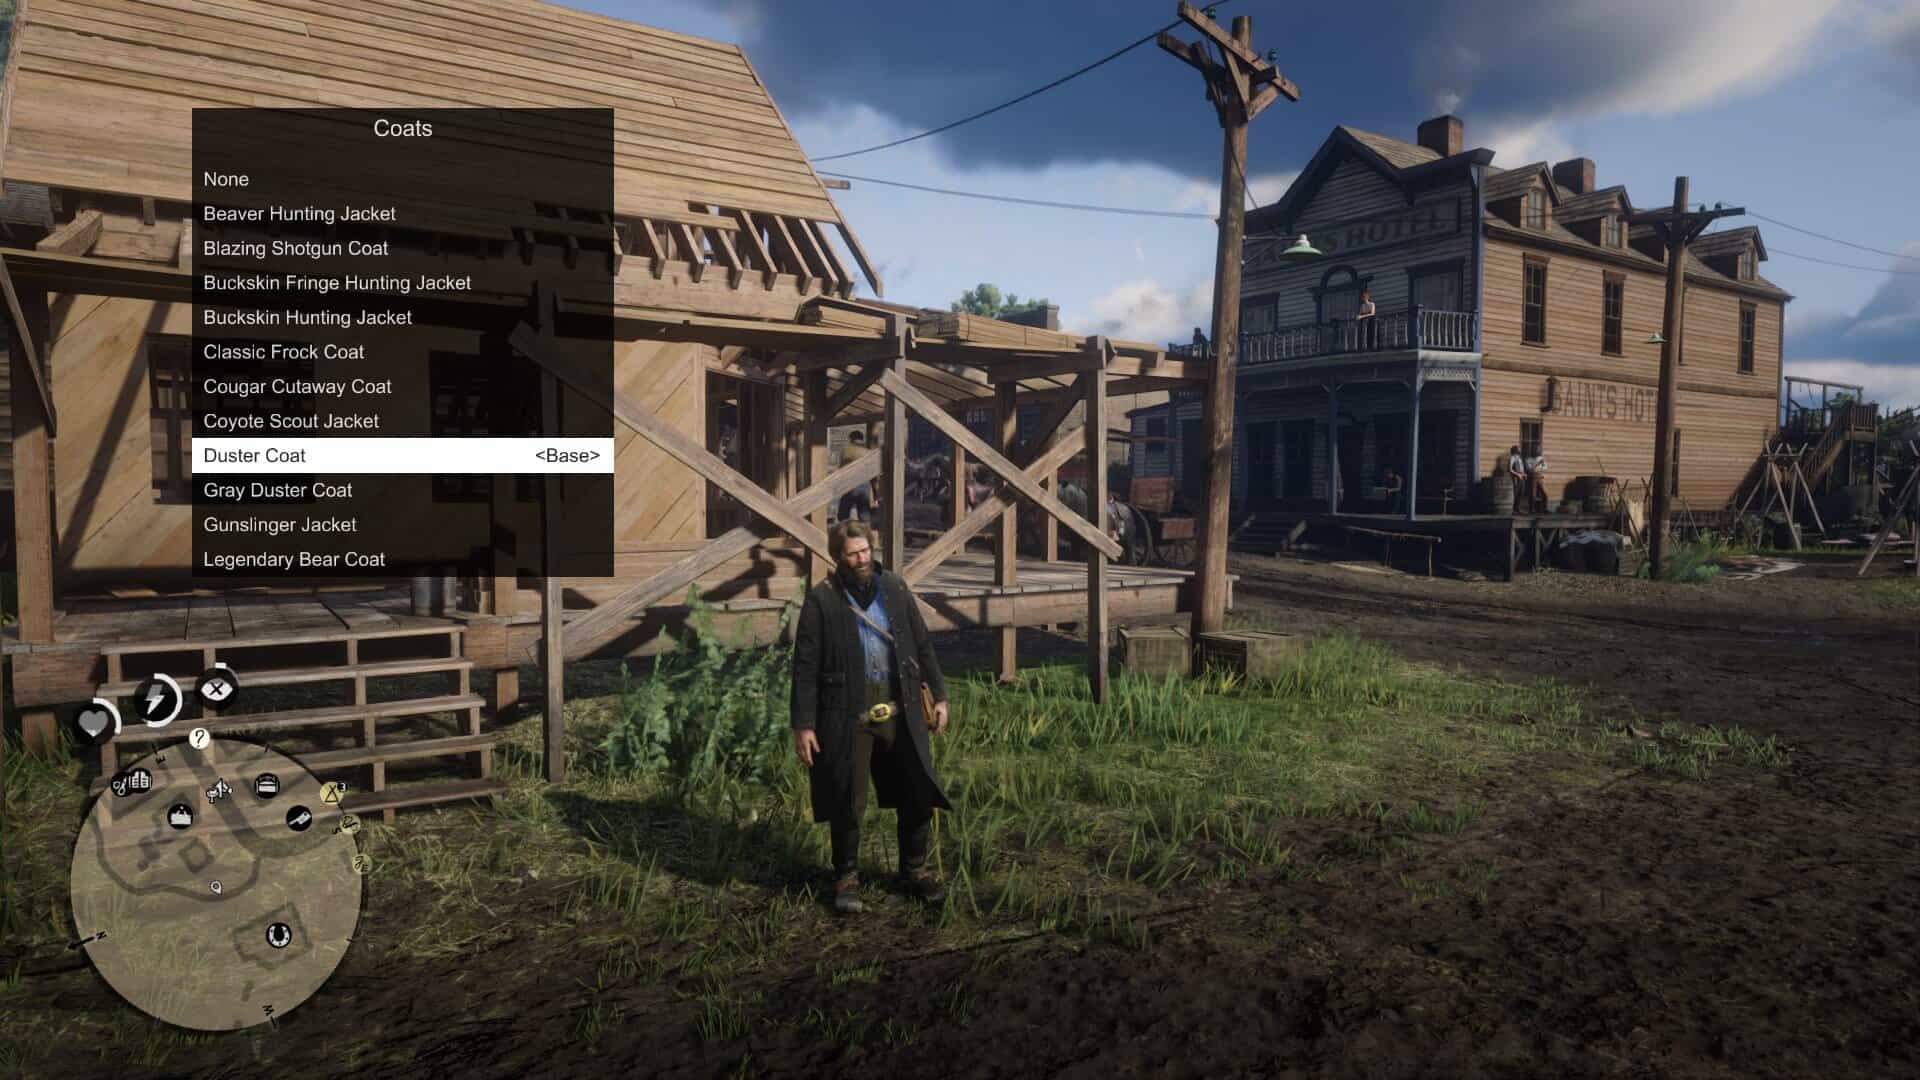
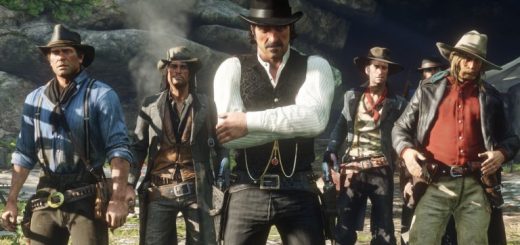
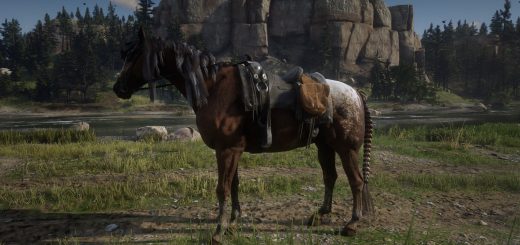
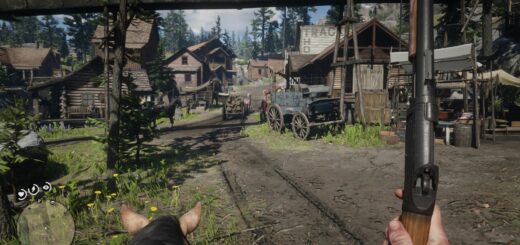
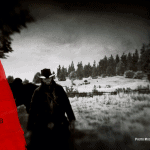
The three screenshots show replaced assets, replaced font and an altered meta file to change the police response in Valentine to Saint Denis police. These are all provided in an example download, see “Examples” further down below for more information.
Installation
1.) Copy all files from “ModLoader” into your RDR 2 game root folder so that files such as vfs.asi are in the same folder as your RDR2.exe.
2.) The Mod Manager folder can be anywhere and does not need to be inside the game folder.
3.) New mods go into lml folder or use the button “Download with Mod Manager” on the mod website if it is supported (see installation video for an example).
Beta 11 highlights – Data file merge and manifest support
A few new exciting features are part of this update. First, support for overriding files used very early during game load has been improved significantly. While I hope that this does not cause any side-effects, please let me know if mods that worked well previously no longer function correctly. For instance, it was not possible in previous versions to override the skydome textures to change the moon. Thanks to @VideoTech for testing.
Second, data file loading allows you to separate your changes to certain files, such as assets_* or metapeds into individual files so that you no longer have to modify the existing one (effectively merging them). This should make it a lot easier to create mods such as custom peds since you can contain most changes to separate files. Please note that this does not magically work for all games files but only those where the internal game parser supports additions (so no catalog for instance). In addition, custom manifest files for peds and maps are supported now. The ped support has been tested extensively, but map support will only really become useful once CodeX can generate these files for you. An example for these features is provided in the download courtesy of BHmaster.
Beta 9 highlights
Very much a maintenance update, this version hopefully fixes the random DRM integrity crashes. Thanks a lot to @calledme.kev who spent tens of hours testing various builds to find the issue! It also adds a lot of caching for collection calls that rely on read-only data, so LML should be a little less demanding.
Beta 8 highlights
This version adds a few new features such as allowing you to override the _manifest.ymf and _cache.ych files found in RPFs. Support to replace hashed files has also improved and now includes ymaps among other file types. The streaming folder now loads pso files, such as ymap, as text files, too. Most data files that are forced to be loaded as pso by the game have been patched to support being loaded as text files, such as cameras.ymt or the archetype definitions. Due to heavy refactoring to improve startup performance, previous builds are still made available. See changelog for more details.
Ymap & Ytyp support (beta 7)
This version introduces experimental support for ymap and ytyp. Two very simple examples are included that move some of the blue barrels around Valentine (check behind the saloon) via a different ymap and that make the lights inside the Saloon much brighter (ytyp – thanks to Modifiver). For ymap modifications, if you unload the imap via script and modify the file on disk, the changes will be applied on reload so no need to restart the game.
Bk2 support (beta 7)
Bink files were technically already supported in previous versions but caused some problems. In the current version they still behave somewhat differently in that they need to have two ‘.’ in their file name as the extension ‘.bk2’ is part of the actual file name. So name your file “movie.bk2.bk2” to make sure it gets replaced correctly. An example for replace would be “replace\movies_0\movies\filename.bk2.bk2”.
Settings file (beta 7)
A settings file has been added that is to be placed in the game’s root folder and called lml.ini. It is mostly geared towards developers and allows for more verbose logging output (or less..) making it easier to identify files you want to replace. If you set the log level to 0 you can see most of the game’s requests to load files and it should be much easier to correctly identify the path you want to replace. Please note that many files are only loaded via hash and not via their name. You can also choose to disable the streaming and replace folders if you do not use them for added performance.
Ymt support (beta 5)
The biggest new feature in this update is the support for ymt file editing even if the source file contains unknown hashes. In order to replace a file, export the ymt to xml with OpenIV and then either use replacement via install.xml or the replace folder to replace the original file. Since you are replacing the ymt file, make sure that your file also has the ymt extension even though it contains xml. For the replace folder method you also need to match the file name. Now you can edit the file in plaintext and the game will treat it as a ymt with all names fixed up when loading. See the included examples for more information.
If you do end up finding a file where you feel that it is not properly fixed up by LML (for instance when exporting the file directly from OpenIV without any changes breaks the game), please let me know. The only file I know of that will currently cause problems is weapons.ymt, but this is not due to LML but because of an export bug in OpenIV which cuts off certain weapon flags. The High-Roller revolver example has these flags manually restored and hence works fine, but this is not the case when exported directly from OpenIV. I have notified the team and trust that they will fix this export problem in the future. Until then you will have to manually inspect the ymt, gather the flags and restore them manually in the xml for weapons if you plan to use them. Please note that this requires advanced knowledge of game structures.
Ymt Examples
This download comes with extensive examples courtesy of @Modifiver that modify various aspects of the game. Check them out in the included examples folder and copy them to your lml folder to try them out!
Upgrading from earlier LML versions without install.xml support (beta 2 and earlier)
This version of Lenny’s Mod Loader introduces install.xml files to instruct LML on how to load your mods. Thus, mods can be separated in folders and no longer require nested folder structures. This is a proven concept from our GTA V version and has now been ported over. You can still use the replace and stream folder under your lml folder. Please note, however, that the Mod Manager UI will only pick up mods that use the new install.xml system so it is recommended to convert your mods to the new system. Only mods using install.xml support Download with Mod Manager. Consult the examples below to learn how to use the new system.
Verify your file got replaced
If you feel that your file is not being replaced properly, have a look at the log file and see if you can find any entry related to it. Perhaps the path was not correct and hence it did not work. Search for “replaced” for files in replace and “adding” for files in stream.
Detailed explanation of stream vs replace (older versions)
In the lml folder you can find two subfolders, one called “replace” and one called “stream”. Both can be used for the same thing but replace is ultimately more powerful, but also more advanced. The stream folder you might recognize from Map Editor or Rampage Trainer and just loads streaming files directly.
Stream
As mentioned, similar to other tools available this merely loads streaming files into the game when the game is loading. For instance, model or texture files would go in there and will replace the existing assets in the game. If you do not know the name of an asset, but only its hash, simply name it 0xhash.ext (e.g. 0x9E54B506.ytd for w_melee_machete01+hi.ytd) and it will still be recognized and replace the asset correctly.
This is the most convenient way to quickly replace streaming files as you do not have to worry about where in the game files they are located but only their name.
Replace
This folder creates a virtual mapping of the entire game file structure and hence allows you to replace any game file, granted you know its full location. This is similar to the paths you can see in OpenIV when navigating RPFs, but not exactly the same. If you want to change the dispatch.meta file for instance, you will need to modify it in update.rpf, as the one in common.rpf is superseded by that. To do that, you would create the following structure: “replace\update\common\data\dispatch.meta”. This is exactly the path you would use in OpenIV (without the .rpf ending for update). Now, whenever the game wants to access this file, it will load yours instead. It is that simple!
If you want to replace the font file font_lib_efigs.gfx in scaleform_frontend.rpf for instance, you would create the following structure: “replace\update\x64\patch\data\cdimages\scaleform_frontend\font_lib_efigs.gfx”.
Word of caution: File paths do not always match their RPF names unfortunately, hence this is a bit more advanced but also allows greater control. Say you want to replace player_zero_coat_001_open.ydd which is present in both packs_1.rpf (original) and dlc.rpf (from patchpack001, an update to the file). Files DLCs follow a slightly different pathing scheme. The full path to this file would be “replace\dlc_patchPack001\x64\packs\base\models\component_models\player_zero_coat_001_open.ydd”. As you can see, it does not match the file path directly, which is also why for many files using the stream folder is just simpler. This is because the game maps some files differently and when you open the dlc.rpf (in patchpack001) and its setup2.xml you will see why: the device name is dlc_patchPack001 which is the “root” of all files inside this archive. Thus the path starts at “dlc_patchPack001” and then follows the RPF structure until you arrive at “replace\dlc_patchPack001\x64\packs\base\models\component_models\player_zero_coat_001_open.ydd”. Not that complicated, but certainly not as easy as the streaming folder and something to look out for.
Acknowledgements
Thanks to NTA for his work on fwEvents, hooking, fiDevice and sysAllocator
Thanks to listener for his work on fiDevice and advice over the years (hope you are well!)
Thanks to the OpenIV team for OpenIV
Thanks to dexyfex for CodeWalker
Thanks to Gan Ceann, Will and GameRoll for testing as well as Jewels, GuiCORLEONEx794, jack.sharif and Modifiver for providing example assets

